Guest Post: Wrapped Leather Bracelet
When I hosted my blogger and creative get-together recently, my lovely friend Jen was gracious enough to lead us all in a wonderful craft creating wrapped leather bracelets. She did a phenomenal job, so I asked her to share the steps again here. Let me know if you try this bracelet, and please visit Jen on Pinterest.
I love any and all crafts, so when Catherine asked me to help out with the craft at her meet-up, I jumped at the chance. The first thing I did was head to Pinterest. I’m pretty new to the site and love it (it can be quite addictive, but is ever so handy). I had several doable looking projects I’d been wanting to try in my DIY-Craft board, and decided to give these bracelets a go.
While the original pin had easy-to-follow pictures, I struggled a bit, finding it hard to wrap while taped down and then I was messing up the fit because I couldn’t figure out how much of the leather to wrap. I worried that if I had problems with it, others at the meet-up might, too. As a result, I re-did it a bit. Putting the bracelet together the way I’m about to tell you made sense to me, so I thought I’d share what I did, just in case it helps you out, too.
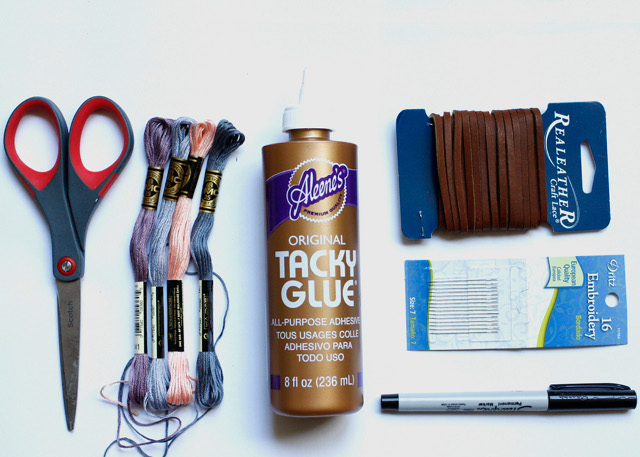
The first thing you want to do is get all your materials together. You’ll need a pair of scissors, some embroidery floss in your favorite colors, Tacky Glue, leather cording (I chose the “Latigo Lace” over the suede), an embroidery needle, and a sharpie marker.
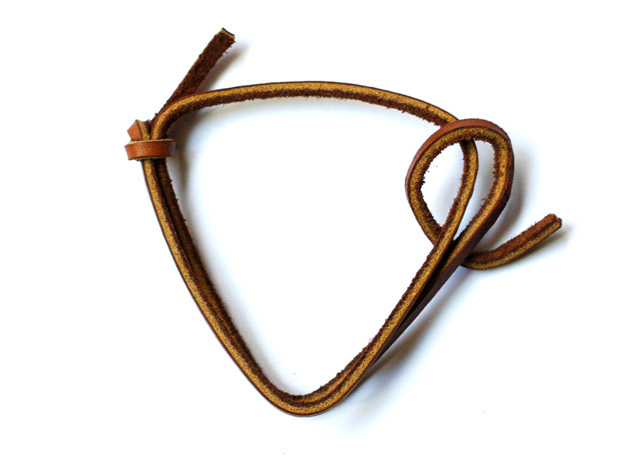 Cut a strip of leather. Here’s where you need to think about what you want your final bracelet to look like. For the original pin (less wrapping, more leather), double the length of the bracelet size you want and add two inches. For me, this was 18 inches. If you want to see less leather and more wrapping, add four inches to the doubled length (so for me this would be 20 inches).
Knot both ends. For some, this might be easy to do, but it took me a while to figure it out. If you’re like me, here’s exactly what I did.
Hold the strip of leather about at midpoint in your left hand. Take the right end of the leather strip in your right hand, bring it around to your left hand and tie a knot where you are holding it in your left hand. If you look at it, it should look like a loop with a knot in the middle and a very long tail. Now take the knot into your right hand and pull to slide the tail through your left hand until you get to the end. With your left hand, bring the left end back around the loop (heading towards the first knot) and tie a knot.
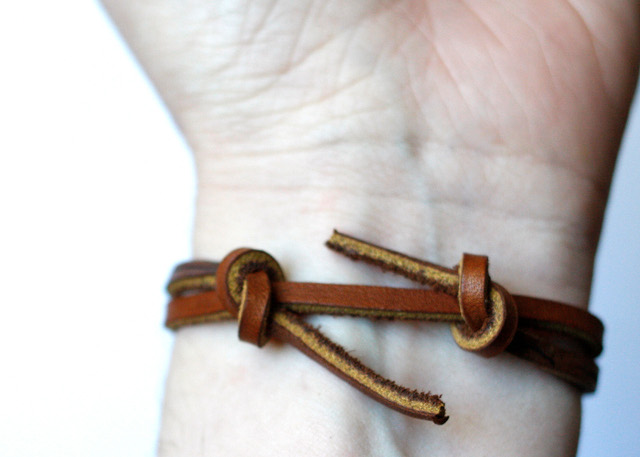
Check your fit. If you like the idea of seeing more wrapping and less leather when you wear your bracelet, your knots should be close together–with about half an inch between knots. If want to see more leather (like the original pin), the knots will still be on the bottom of your wrist, but farther apart — about 2 to 2 1/2 inches between them.
If it’s too big, undo one of the knots, cut off a bit, re-knot, and check the fit again. For my first bracelet, the knotting and fitting part took me the longest, so don’t be discouraged if it’s not perfect the first time.
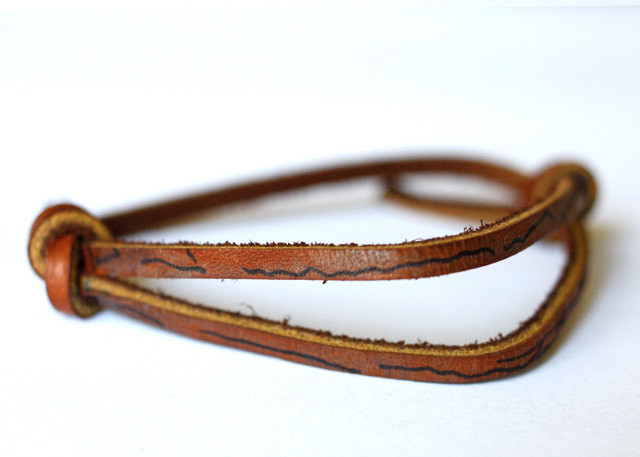
Open up the bracelet to the point where you can just slide it over your hand, and take it off. (If it’s super easy to take off, you opened it too far). Now, take your sharpie and mark the leather from knot to knot. This will serve as a guideline for where you wrap the embroidery floss, so don’t worry about the sharpie ruining your bracelet. You won’t see it in the end.
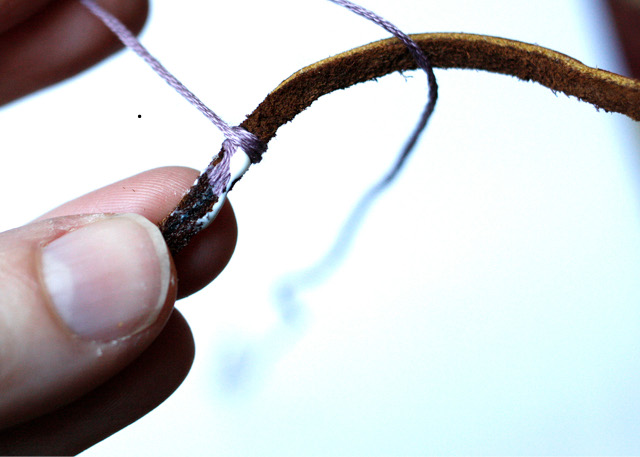
Next, undo ONE of the knots. Cut a length of your choice of embroidery floss (about 12-18 inches should be fine). Run a thin line of glue at the start of the sharpie mark (where your knot WAS). Run the end of the floss along the glue (tail pointing down) and begin wrapping, using the sharpie mark as your guideline where to start and wrapping down over the tail and glue.
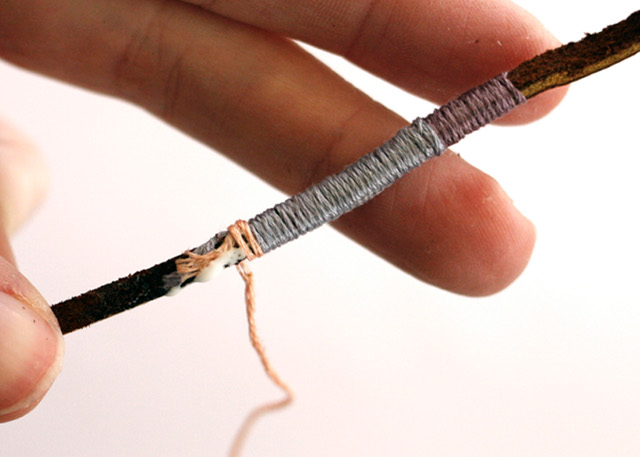
Continue wrapping. When you want to change colors, cut the color you are currently working with, leaving about a 1/4 inch tail. Repeat the process with a new color floss, wrapping over the tails of both the former and new color as you go.
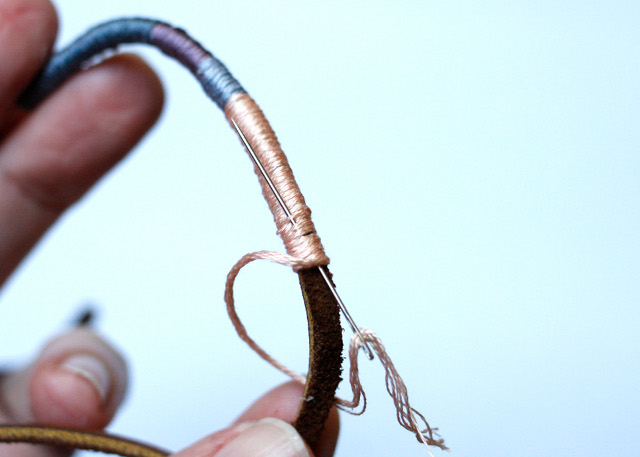
When you have reached the end (of your sharpie guideline), thread the floss you are working with through an embroidery needle. Push the needle back through the wrapping you have done and pull the thread through to secure. Trim the thread flush with the bracelet (you’ll have only the tiniest piece sticking out from the wrapping). Now, re-knot the knot you had undone and repeat on the other side (un-do the other knot and wrap along the sharpie guideline, etc).
Tightly pull the knots to secure. Double check your fit and trim any excess ends from the knots. How long you want the tails is up to you. I cut mine pretty short, but still long enough to tug to tighten, if need be.
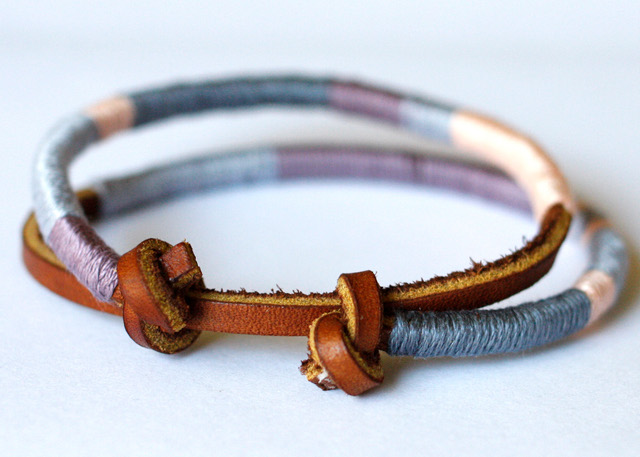
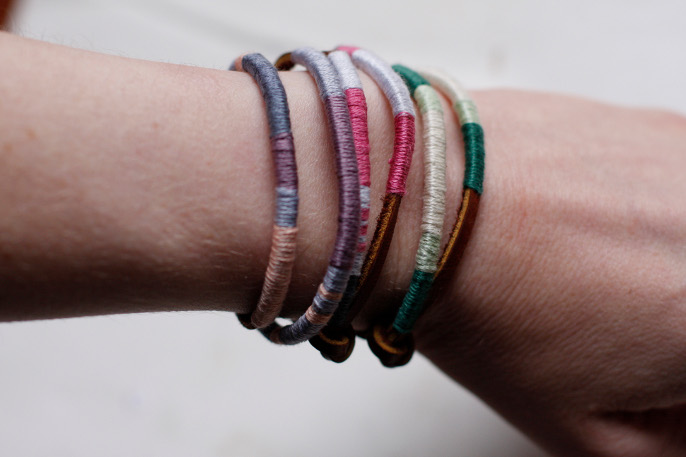
And here you go, the finished product! These are the three I made. Here you can see the top two are the original pin’s version (more leather showing) and the bottom one (the purple-y one) shows what it looks like if your knots are close together and you have more wrapping and less leather showing. Which look do you prefer?
(All photographs by Jen Perks. Craft adapted from this post.)

These are so cute and crafty! Great tutorial!
I love the mix of rugged and lovely! I haven’t made this yet but I’m putting it on my to do list. Thanks for posting this.
Thanks, ladies! She really did an amazing job!
Awesome tutorial, Jen! You made it seem easy enough that even I successfully made one, and I’m not crafty.
I’m so glad you liked the tutorial. It was a fun project!
Mary-Beth, if/when you get around to making one, feel free to contact me if you have any questions.
Tara–I thought your bracelet turned out great!